Web-to-Case in Salesforce: Let’s face it: there are comparable items on the market with nearly identical features and, for the most part, similar prices. In a market like this, your primary point of differentiation and the reason consumers pick one product over another is your level of customer service and support.
Optimising your customer support procedures makes sense. Your support teams will be happier, more productive, and able to handle client demands more quickly when your processes are optimised. These are all the components of a recipe for excellent customer service.
Web-to-case comes into play here! We’ll describe Web-to-Case in this post and walk you through how to use it to improve customer support.
What is Web-to-Case in Salesforce?

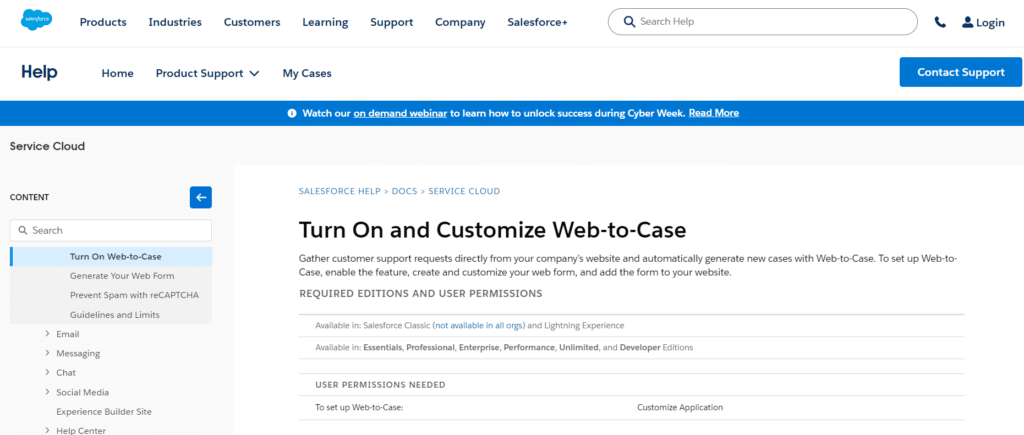
- A cutting-edge Salesforce Service Cloud tool called Web-to-Case enables you to automatically collect support requests straight from your website and convert them into cases. It uses a straightforward, editable form with the required fields per your specifications.
- This implies that you can increase the productivity of your support staff and assist them in responding to consumer inquiries more quickly by utilising Web-to-Case.
- Web-to-Case refers to the process of gathering cases from websites. With the help of Salesforce Web-to-Case, businesses may construct a web form to post to their website so that support and service division users can quickly open a case on Salesforce.com.
Web-to-Case in Salesforce Assignment Rules
The guidelines for lead assignments and case assignments are similar. It automatically allocates case records to a specific user or queue based on several criteria. Numerous rule entries identifying a case’s assignee can be found in a case assignment rule.
The requirements a case must fulfil to be allocated to a user or queue are listed in rule entries.
Only one assignment rule may be active at a time. However, we can create as many as we like.
The “Don’t Reassign Owner” setting controls whether the user whose process stack is now being used owns the governing entity or the creator user still retains ownership. To close cases more successfully, case teams may also be assigned to them.
How to Use Web-to-Case
After learning Web-to-Case, let’s examine how to put it up and utilise it for your company.
Getting Set to Utilise Web-to-Case
- Before activating Web-to-Case and creating the online form for your website, you must accomplish a few tasks in preparation. You must first decide which case fields to include in your online form.
- It is recommended to include areas that can capture the specifics of your clients, such as name, company, and contact information, even though the field you select will rely on your particular needs. Fields that can record information regarding the problem should also be included.
How to Turn on Web-to-Case in Salesforce
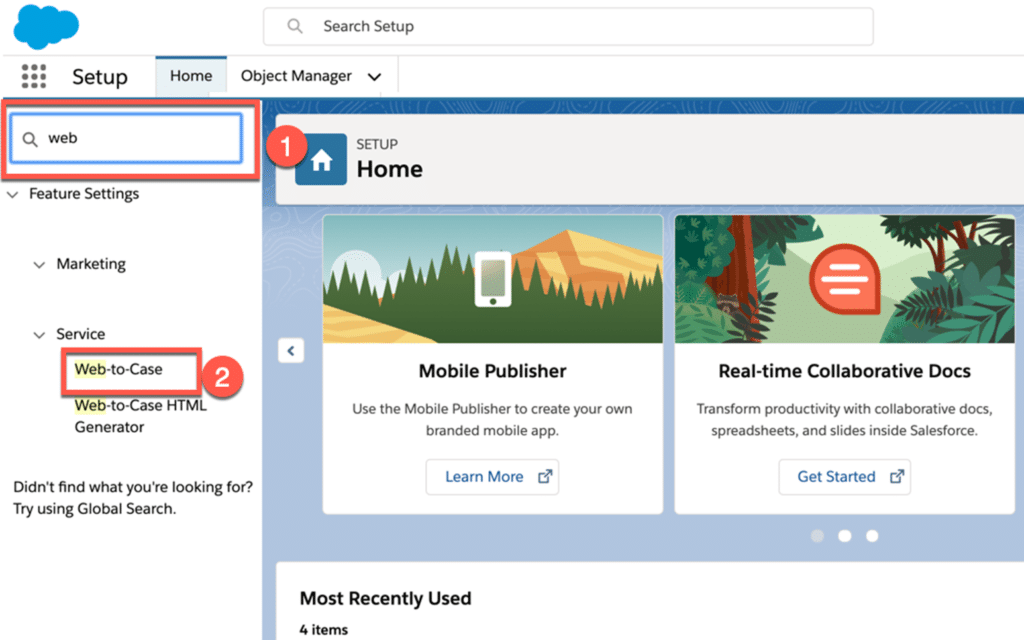
After everything is ready, you can configure Web-to-Case. To accomplish this, navigate to Setup, enter Web into the Quick Find field, and choose Web-to-Case from the list. Fill out the following fields on the Web-to-Case configuration screen once it opens:
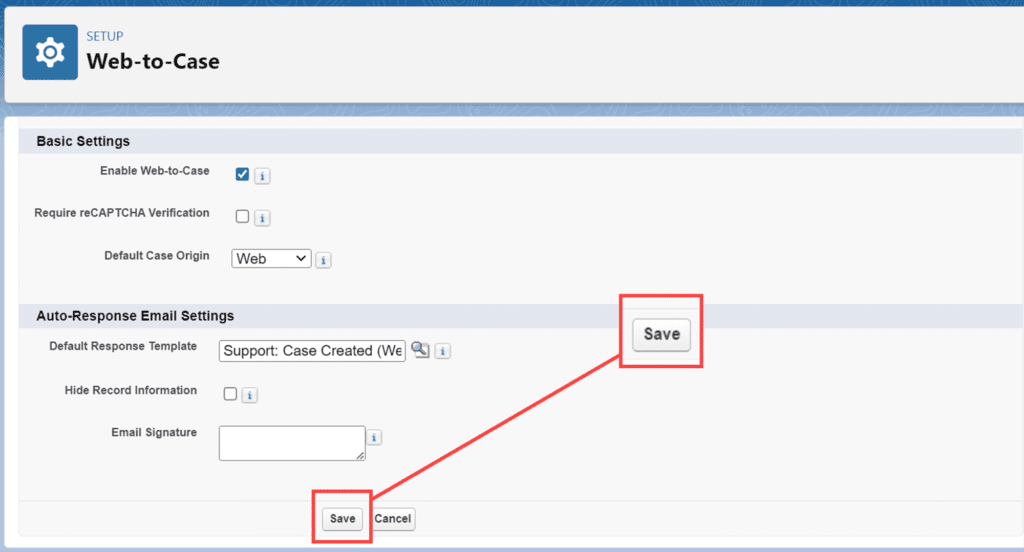
Turn on Web-to-Case: If you want to enable Web-to-Case, tick the box. (You cannot create the form for your website if you do not tick this box.)

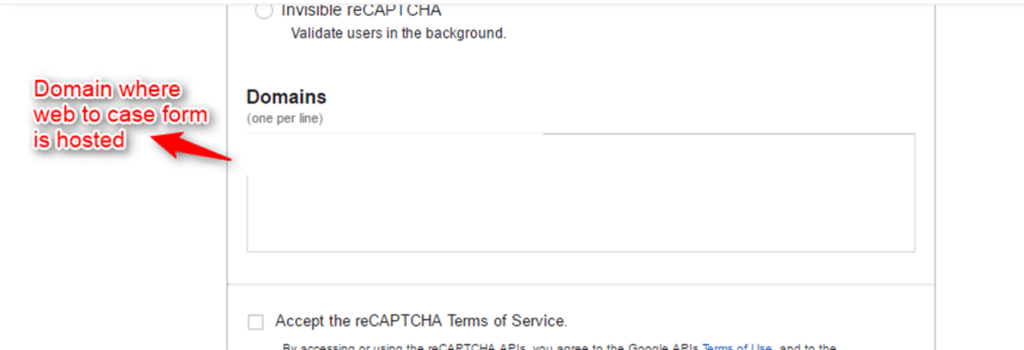
Demand Verification via reCAPTCHA: You should select this option if you need reCAPTCHA verification for users submitting requests using your online form. Requests that are made without verification will not result in cases where they are activated. In the end, this can stop spam. Hence, we advise enabling reCAPTCHA. But keep the following in mind: Since reCAPTCHA is supplied by Google rather than Salesforce, it might not be accessible where you live. Before copying the resulting Web-to-Case HTML to your website, ensure it contains the reCAPTCHA code.
Case Default Origin: This setting sets the default origin value that Web-to-Case uses for all cases. You can choose Web from the dropdown list unless you’ve made a custom value for a customer service procedure specific to your company.
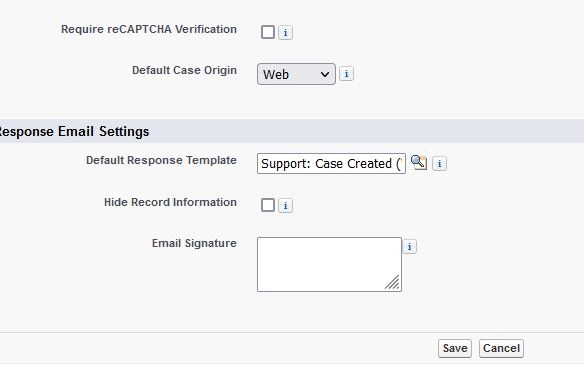
Template for Default Response: Select the response template you wish to use to let clients know their request has been received. The template you made before will be used. Make sure that “Available for Use” is indicated on this template. Additionally, unique response rules with individual templates can be specified. For urgent support inquiries, instead of upgrade inquiries, you may send out a distinct answer email. Web-to-Case will use the default template if a case does not have any response rules.
Conceal Record Data: You can conceal the record information from customers’ emails sent to them after they have filed a request by checking this box.
The signature of an email: The notification email has an email signature that you can alter. The default will be used if you don’t supply a personalised email signature.
Generate Your Web-to-Case Form

After completing the previously listed procedures, you can create your online form. To accomplish this, go to Setup and type Web-to-Case HTML Generator into the Quick Find box. Next, choose Web-to-Case HTML Generator from the results list.
You must now fill out the reCAPTCHA fields if you enabled the Require reCAPTCHA Verification during the setup procedure previously mentioned.
- Put reCAPTCHA in your HTML: Keep this choice chosen.
- Key duo: When registering your domain on the reCAPTCHA website, input the key pair you received from Google. Use the lookup feature to confirm that the key pair is registered on Salesforce.
- Turn on server fallback: As a backup plan, you should activate this option if there is a problem with reCAPTCHA. This option, for example, will allow all traffic through if the reCAPTCHA server goes down, saving you from losing any support inquiries.
You can generate the HTML code for your form by clicking on Generate after filling out all the fields above. As previously said, make sure your HTML contains the reCAPTCHA code.
If it isn’t, you won’t receive any client support requests, and no verification form will appear. Ensure you choose to Require reCAPTCHA Verification during the setup process and generate the document again if it’s not included in your HTML.
Copy the code to any page on your website after your form has been generated. Click Finished when you’re finished!
Web-to-Case Limitations
As previously noted, Web-to-Case will automatically turn website support requests into cases in Salesforce and send notification emails to clients as soon as your form becomes live.
Regretfully, Web-to-Case has certain limits. Rich Text Area fields are not supported by Web-to-Case, to start. When you create the case, the data you enter on the form will be saved in plain text. Script tags will also be changed to plain text.
Moreover, attachments are not supported by the system. This could be a problem for questions about technical support or requests for clients to email you a PDF or an image of the problem. Similarly, multipart/form-data encoded data is not supported. No case will be created when this info is entered into your form.
Set up Web-to-Case
Let’s go over how to build up a web-to-case in Salesforce step by step.
Turn on the function:
- Navigate to Settings.
- Look for the Web-to-Case option.
- Choose Enable Web-to-Case.
It is also possible to activate the ReCAPTCHA Verification.

To receive notifications, choose an email template.
Develop an HTML form for Web-to-Case: Once Web-to-Case is enabled, you can create and modify your web form. Click “Web-To-Case HTML Generator” to do that. Decide which of the available fields you wish to display in the form.
Select which case fields to include.
Choose who owns the case.
Create the necessary queues for assignment.

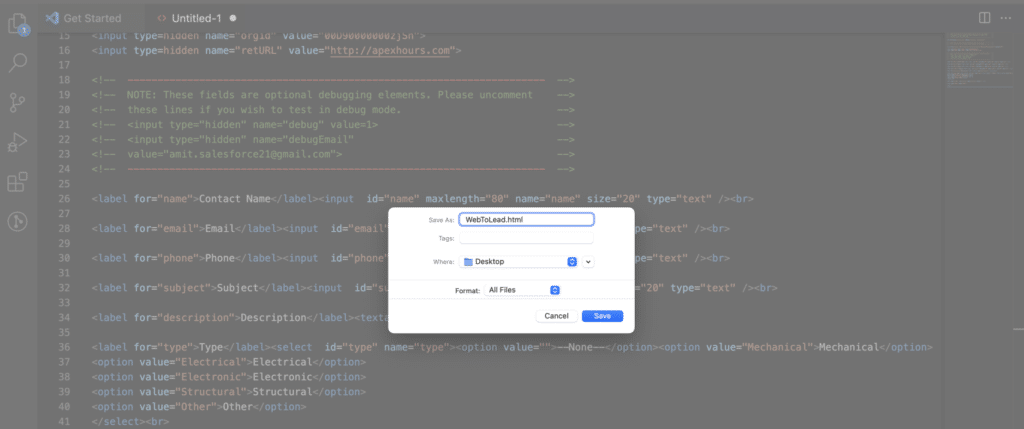
For now, reCAPTCHA in HTML is not checked. Next, select the Generate button. Paste the HTML code directly and save it somewhere.

Include the form on your webpage: The same HTML code can now be used on your website. I’m saving it to my desktop for demonstration purposes.
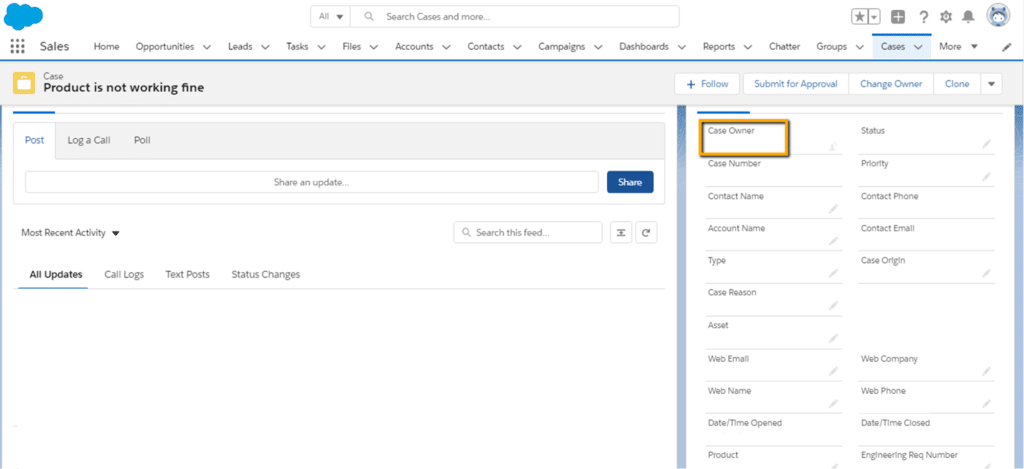
Check your form: Now, open the online case form and fill out every field needed.
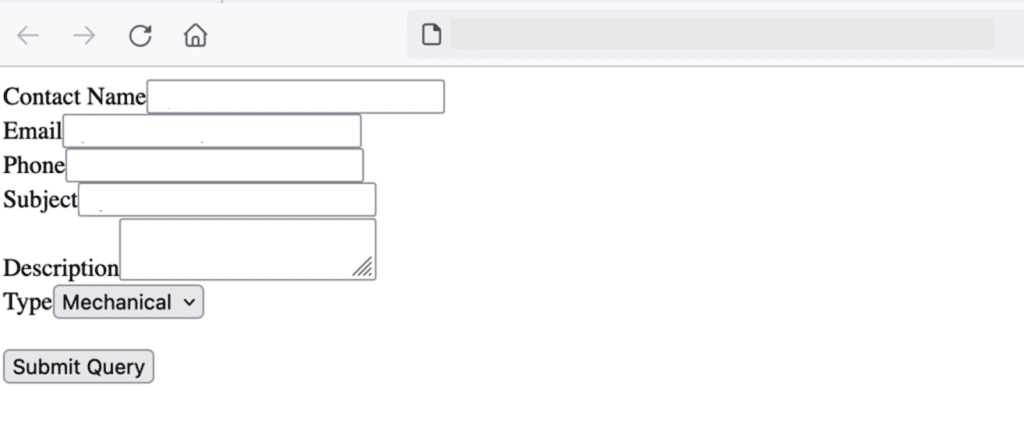
The UI is quite simple by default, although you can. To make it pleasant, get Salesforce Developer assistance. You can see that the case has been established in Salesforce, and an email has been triggered.

Web-to-Case Considerations
- Unsupported Content Types
- Attachments
- Rich text area (RTA) fields—If you use these fields on your forms, any information entered in them is saved as plain text when the case is created.
- Multipart/form-data—Cases aren’t created for forms that use this content type.
- Script tags—When script tags are submitted in Web-to-Case forms, the tags are saved as plain text in the case detail
- 5,000 cases in 24 hours
Conclusion
Web-to-Case in Salesforce is a powerful tool that can transform how your organization handles customer inquiries. Businesses can enhance customer satisfaction and build lasting relationships by automating case creation, providing real-time information, and streamlining the support process.
As technology continues to evolve, leveraging features like Web-to-Case becomes imperative for staying competitive and meeting the ever-growing expectations of today’s customers. If you haven’t explored Web-to-Case in Salesforce yet, it is time to unlock its potential and take your customer service to new heights.