
Salesforce is a powerful customer relationship management (CRM) platform that helps businesses manage their sales, marketing, and customer service processes efficiently. In this blog post, we will learn to install Data Loader in Salesforce to streamline your data management tasks.
One of the key aspects of using Salesforce effectively is the ability to import and export data seamlessly. This is where Salesforce Data Loader comes into play.
Managing data efficiently is a crucial aspect of Salesforce administration, and the Salesforce Data Loader is a powerful tool that simplifies data import and export processes.
If you’re new to installing Data Loader or need to reinstall it, this step-by-step guide will walk you through the process. By following these instructions, you’ll have Data Loader up and running on your Windows machine in no time.
How to install Data Loader in Salesforce ?
Here are the steps to install data loader in salesforce.
Step 1 : Install Java Runtime Environment
Install Java Runtime Environment (JRE) version 11 or later for your operating system, for example, Zulu OpenJDK version 11 or later for macOS and for Windows.
Once the JDK download is complete, locate the downloaded file and run the installer. Follow the on-screen instructions to complete the installation process.
The default settings should be sufficient, so you can proceed by clicking “Next” through the prompts.
Step 2: Accessing Data Loader
To begin, navigate to your Salesforce setup page. You can do this by logging into your Salesforce account and clicking on your profile icon in the top-right corner. From the dropdown menu, select “Setup.”

Step 3: Locating the Data Loader Download
In the Salesforce Setup page, use the Quick Find box on the left-hand side and search for “Data Loader.” Click on the “Data Loader” option that appears in the search results.
This will take you to the Data Loader installation page.

Step 4: Download Data Loader
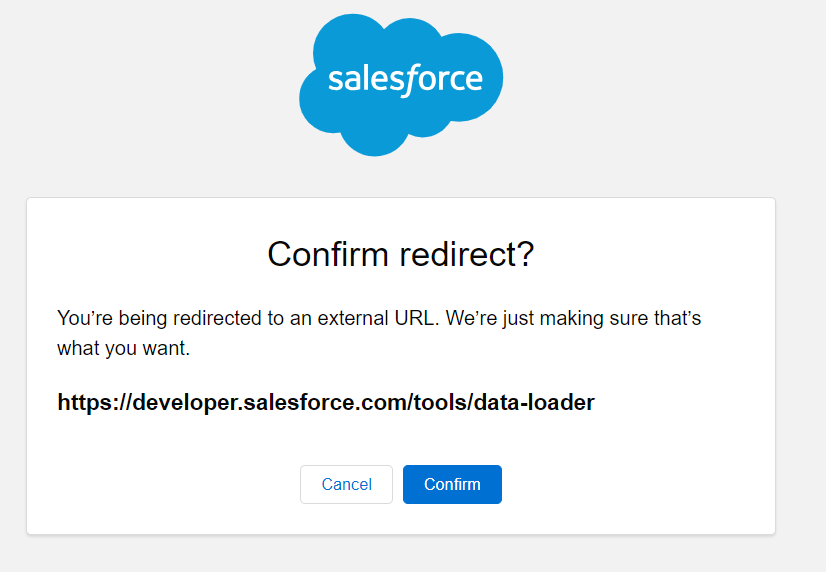
On the Data Loader installation page, you’ll find a link to download the Data Loader. Click on the provided link to start the download.
Step 5: Extracting Data Loader
Once the download is complete, locate the downloaded file and extract its contents using a compression tool or the built-in extraction feature of Windows. This will create a folder containing the Data Loader files.
Step 6: Installing Data Loader
Open the extracted folder and locate the install.bat file. Right-click on it and choose “Run as administrator.” This will initiate the Data Loader installation process. Follow the prompts, accepting the default settings such as the installation folder and the creation of shortcuts.
Step 7: Launching Data Loader
After the installation is complete, go to the Start menu or search for “Data Loader” on your computer. You should see the Data Loader application listed. Click on it to launch the tool.
Conclusion
Congratulations! You have successfully installed Salesforce Data Loader on your Windows machine. With Data Loader, you can now streamline your data management processes, including importing, exporting, updating, and deleting records in Salesforce.
Take advantage of this powerful tool to enhance your data operations and optimize your Salesforce experience.
Enroll in our Salesforce Admin Certification Course