In this post, we will explore Salesforce Change Data Capture salesforce (CDC) in a simpler way. CDC is a tool that helps connect Salesforce data with other systems in almost real-time. We will give you a brief overview of CDC and its benefits.
Table of Contents
ToggleStreamlining Communication with Streaming Events:
CDC uses instant notification messages called streaming events to communicate between systems. Publishers, like SAP, Workday, and Oracle, send these messages to subscribers through an event bus. This helps different systems communicate efficiently and in real-time.
When should we use Change Data Capture events in Salesforce?
Change Data Capture (CDC) events in Salesforce should be used in the following scenarios:
- Real-time Data Integration: CDC events are ideal when you need to integrate Salesforce data with external systems in near real-time. If you require immediate synchronization of data changes between Salesforce and other applications, CDC can provide the necessary capabilities.
- Event-Driven Architecture: CDC events are designed for event-driven systems. If you have a distributed enterprise architecture where different systems need to communicate and respond to data changes, CDC can facilitate seamless communication between these systems.
- Event-Based Triggers and Notifications: CDC events can trigger actions or send notifications based on specific data changes. If you need to respond to specific events, such as updating external systems or sending notifications when certain conditions are met, CDC events can serve as triggers for these actions.
- Building Replication and Backup Solutions: CDC events are useful for building replication and backup solutions. You can capture changes made to Salesforce data and store them externally for data protection or disaster recovery purposes.
How to create a change data capture event in Salesforce?
To start using CDC in Salesforce, follow these steps:
- Go to your Salesforce home page and click on the gear icon in the upper right corner. Select “Setup.”
- In the search setup box, type “Change Data Capture” to find the CDC integration.
- Move the entities you want to enable change events for from the available entities list to the selected entities list.
- Save the changes.
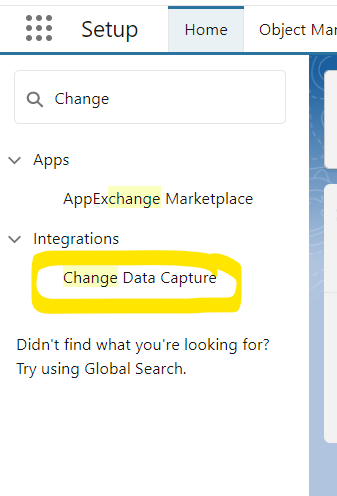
Note: You can select the objects for which you want to setup Change Data Capture, in the below example, I am setting up for Account.

How to specify the subscription channel?
Determine the objects or entities for which you want to track changes. For example, if you want to capture changes for the “Account” object, or a custom object like “Employee,” make a note of these.
Define the channel name:
- For standard objects, the channel name follows the pattern: “/data/<Standard_Object_Name>ChangeEvent“. Replace “<Standard_Object_Name>” with the actual name of the object. For example, for accounts, the channel name would be “/data/AccountChangeEvent”.
- For custom objects, the pattern is “/data/<Custom_Object_Name>__ChangeEvent“. Replace “<Custom_Object_Name>” with the actual name of the custom object. For example, if the custom object is named “Employee__c,” the channel name would be “/data/Employee__ChangeEvent”.
What are the ways to subscribe to Change Data Capture Events ?
Asynchronous Trigger: You can create an asynchronous trigger in Salesforce to subscribe to CDC events.
Lightning Component: Lightning components in Salesforce provide a way to subscribe to CDC events.
Lightning Web Component: Similar to Lightning components, Lightning Web Components offer a modern development model to subscribe to CDC events.
EMP Connector: The EMP (Enterprise Messaging Platform) connector is a Java tool provided by Salesforce for real-time communication between client applications and Salesforce. It enables you to subscribe to CDC events and receive them in your application using the EMP connector.
Step By Step instructions to subscribe using EMP Connector:
Step 1: We will need to install Git and Maven on your computer.
Step 2: Open Git bash and run the following command:
git clone https://github.com/forcedotcom/EMP-Connector.gitStep 3: To build the EMP-Connector tool, execute the following commands :
$ cd EMP-Connector
$ mvn clean package
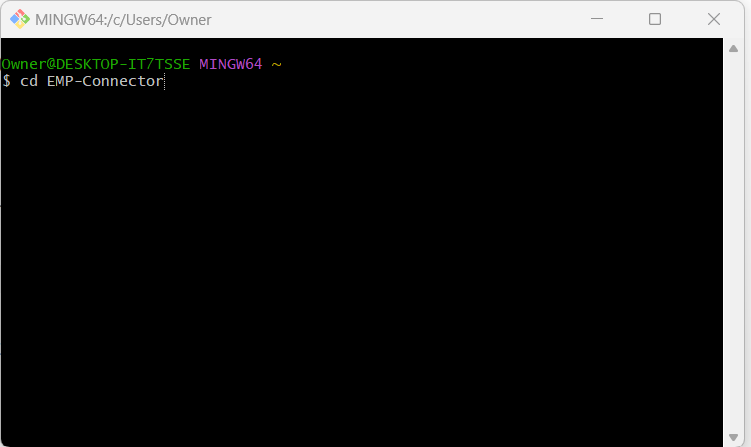
Run the next command.
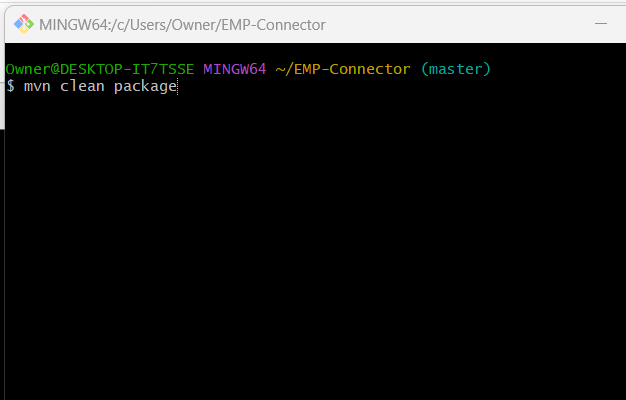
Step 4: The following command runs to fail in Git bash but if you go over to the command Prompt, run it as an administrator. This will work fine.
java -jar target/emp-connector-0.0.1-SNAPSHOT-phat.jar <username> <password> <channel> Note: Please do add security token along with the password and also replace your username password and channel name according to your org.
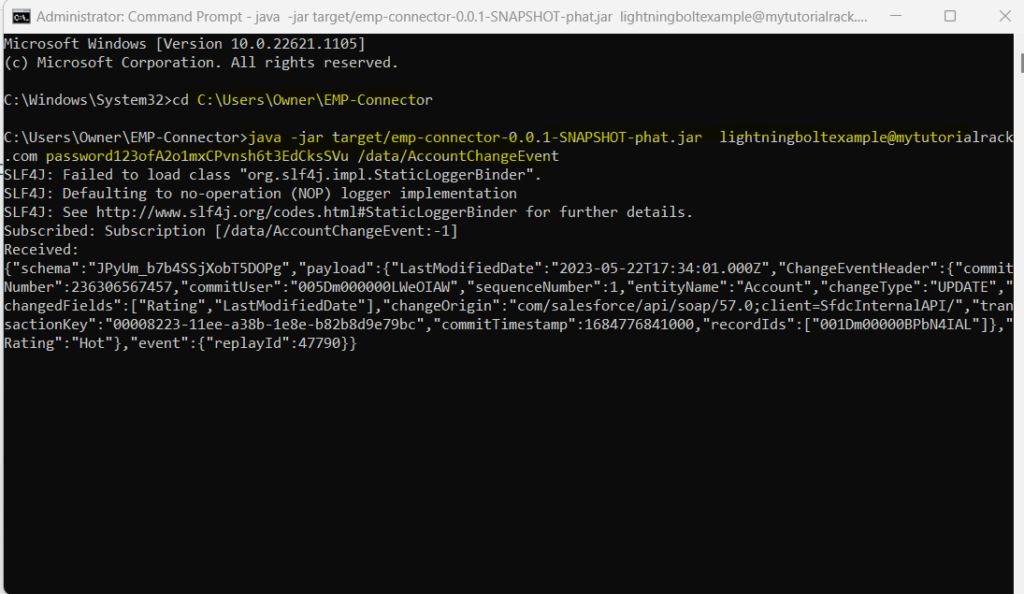
After following above steps, whenever you will make changes on the Account record, you will see the change getting published on this window.
Here is a video where I have explained the same steps using eclipse and with the help of a custom object.
Limitations and Challenges using Change Data Capture (Salesforce)
While Salesforce CDC is powerful, there are some limitations and challenges to consider:
- Implementation Complexity: Capturing changes is just the first step. Writing changes to a target destination can be complex and may require additional tools or custom code.
- Data Storage: CDC stores change data in a database table, which can use a lot of storage space. Plan for additional storage and monitor it regularly.
- API Limits: Salesforce has limits on API requests, and CDC uses API requests to retrieve changes. Be aware of these limits and plan accordingly to avoid interruptions.
- Supported Objects and Fields: Not all Salesforce objects support CDC, and certain fields may not be trackable. Check the supported objects and fields to ensure compatibility.
- Historical Data Limitation: CDC captures changes made after it’s activated and doesn’t include historical data. Consider this when planning for reporting needs
Conclusion:
Conclusion:
Salesforce Change Data Capture is a valuable tool for integrating Salesforce data with other systems in real-time. By understanding CDC’s capabilities and limitations, you can utilize it effectively for efficient data synchronization. Keep in mind the considerations we’ve discussed for successful implementation. Thank you for reading!


